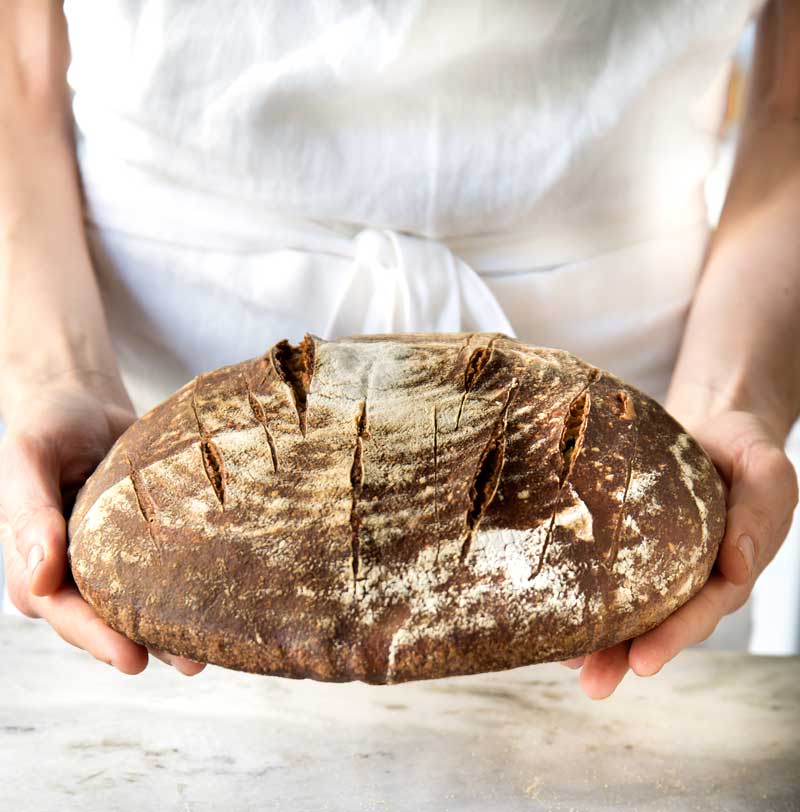
If you live in Brooklyn or have visited Brooklyn, you may be familiar with Bien Cuit. Hands down, some of the best bread I’ve encountered, anywhere. A bold statement, but one which I firmly stand behind. And well-deserved, as Zachary Golper was recently nominated for a Jame’s Beard award for Outstanding Baker.
Bien Cuit translates to well cooked in French, to describe the dark, mahogany color of the crust Golper achieves in his bread.
Recently moved from Brooklyn to Philadelphia, so I no longer have access to Golper’s stellar breads. Sigh. So, when I learned that he had written a bread book, I quickly ordered a copy (I think I have room for one more cookbook, maybe?). For me, bread baking is equal parts intrigue and intimidation. No better way to get good at something than to practice, practice, practice; make lots of mistakes; learn (hopefully) from your mistakes; and practice some more.
I decided to jump right in with the 60-hour sourdough bread, the miche I always order when I buy bought bread at Bien Cuit (at Bien Cuit, they shape their miche into large boules [ball in French]. An ambitious place to start, but what the heck?
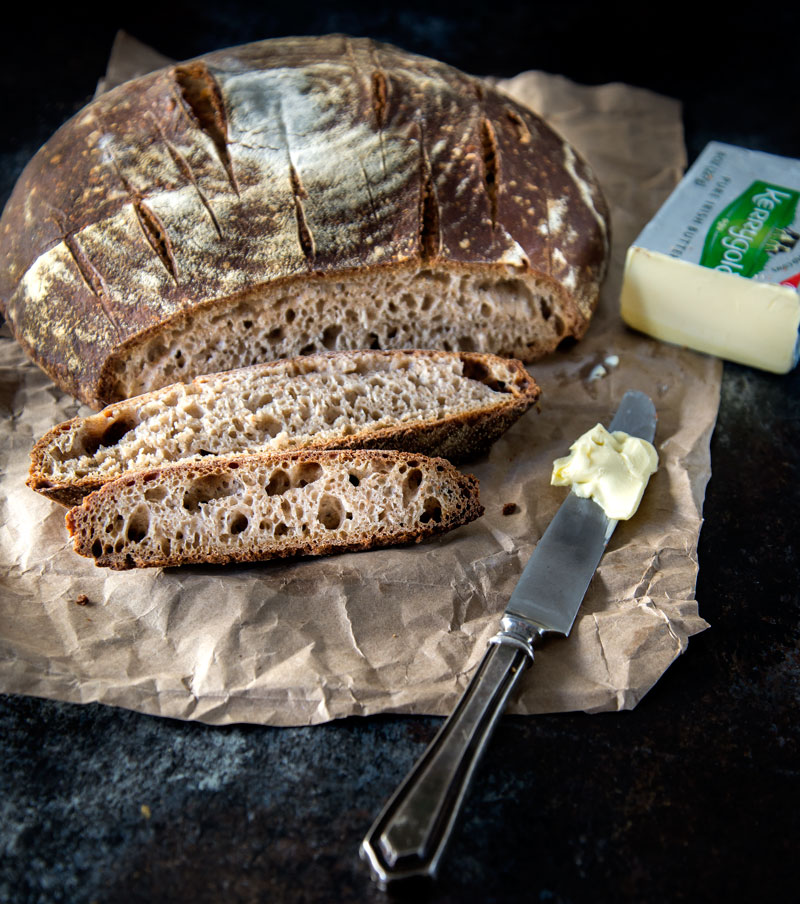
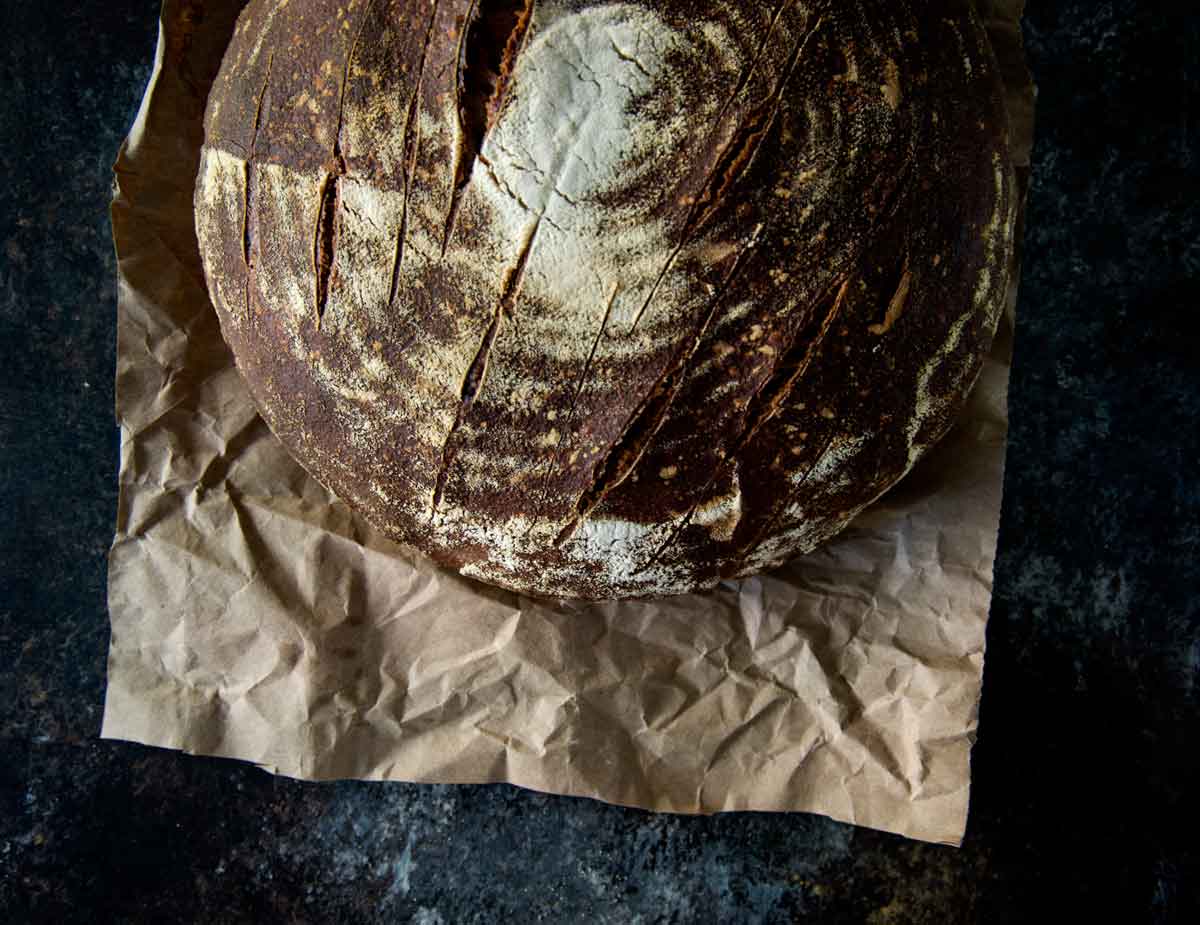
I’ve made this bread several times and continue to learn with each new batch. The first batches were a bit too flat. I think it may have been too warm in my apartment, which led the dough to overproof? Just a hunch. Flatness aside, the taste and texture were spot on — a dark, crispy crust (bien cuit) with a spongy, airy, sour interior. Even though my 60-hour sourdough remains a work in progress (it still tastes really good), wanted to share my progress thus far. Perhaps you’ll be inspired to give it a go and we can compare notes.
Needless to say, bread baking is as much an art as it is a science. It requires time and planning. Nowadays, most “grocery-store bread (i.e., large scale commercial baking) is made quickly with yeast, typically in three hours or less.” Alas, time is money. In addition, in order to produce an acceptable loaf in such a short amount of time, a whole slew of additives and preservatives are added (including extra gluten).
For this bread, you need to space the process out over the course of 60-hours (hence the name 60-hour sourdough). This long, slow fermentation is what helps the bread to develop flavor and texture. It also happens to improve the digestibility of the bread, and lowers its glycemic index. Some things just take time. But I promise you, it’s worth it.
And, it takes patience, waiting on the yeast to do it’s thing and, well, to fully grasp the bread making process. Rome wasn’t built in a day!
As you can see in the photo below, several flours were used in the making of this bread: bread flour, dark rye, light rye, buckwheat, and whole wheat.
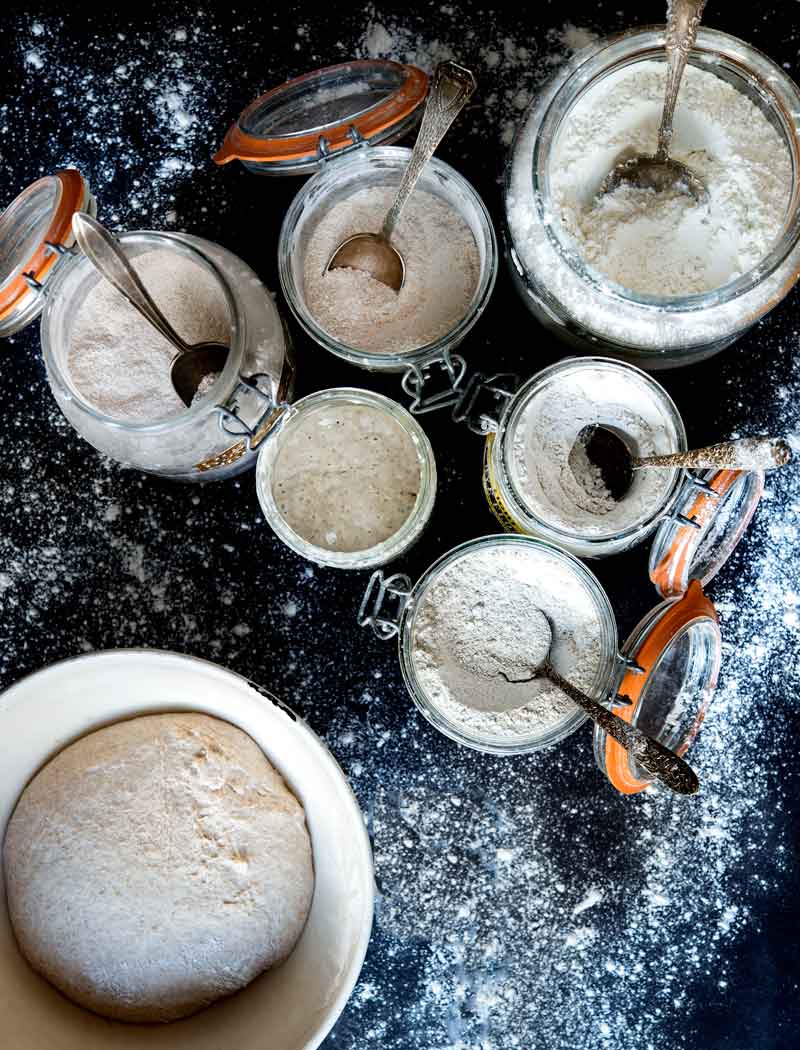
This is my sourdough starter. I acquired it from a bakery in Brooklyn. I walked into the shop, looked around, inquired about the starter, was handed a brown paper bag, and when on my merry little way. Mission accomplished.

Sourdough starter is like a pet. It’s alive. It requires love and attention, and food (aka flour and water). For now, it sits on my counter and I feed it equal weights flour and water every morning. A combination of all-purpose flour and rye flour.
When I’m not baking bread, the sourdough starter lives in my refrigerator, during which time I feed it once a week. I’m still learning. Bread baking is all about patience and practice. But the end result is totally worth the effort. There’s nothing like a freshly baked loaf of bread out of the oven with a deep dark crispy crust and chewy interior.
After all, bread is the staff of life.
While there is no extensive kneading involved in the making of this bread, there are a series of foldings (in 45-minute intervals). Set aside a lazy Sunday to start the process.
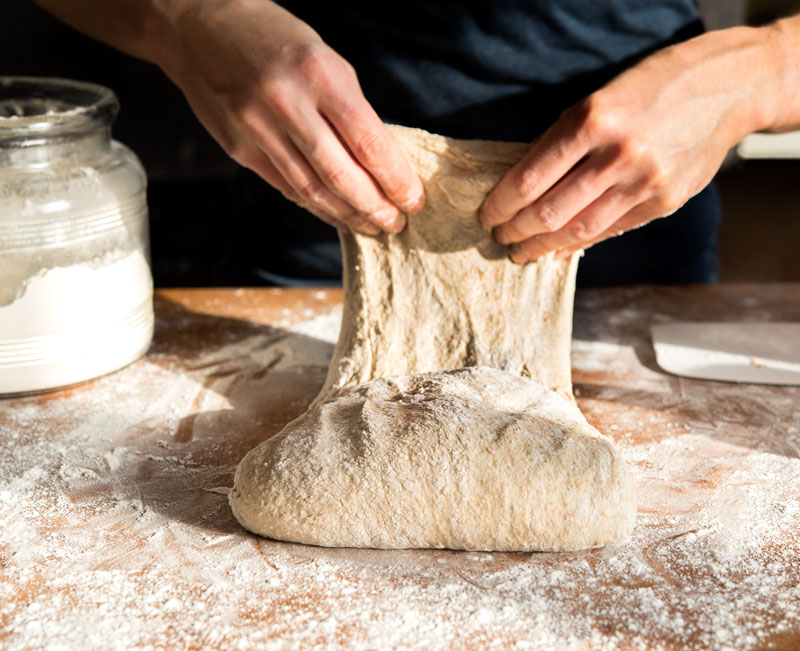
Now, you need to shape and proof the dough, letting the yeast convert the sugars in the flour to gas (CO2) and alcohol, which is what makes bread rise.
At this point Golper says to leave it at room temperature for 5 1/2 hours.
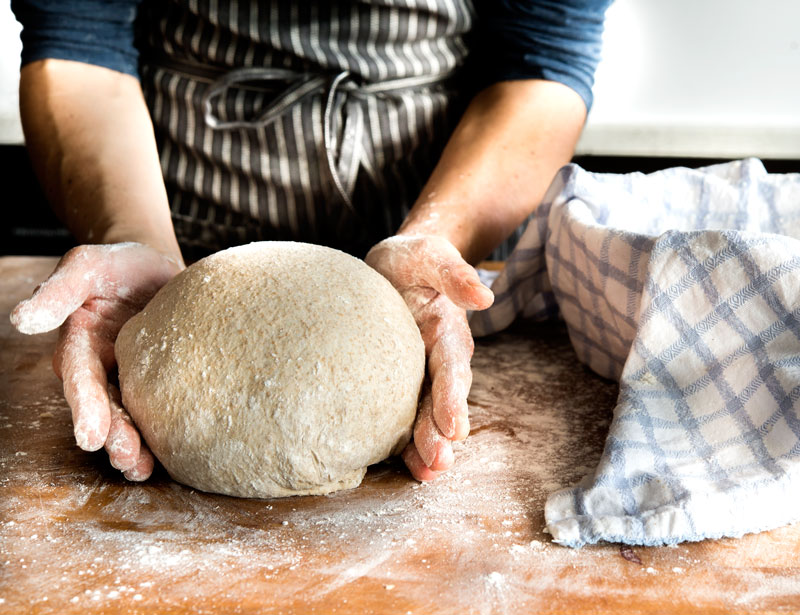
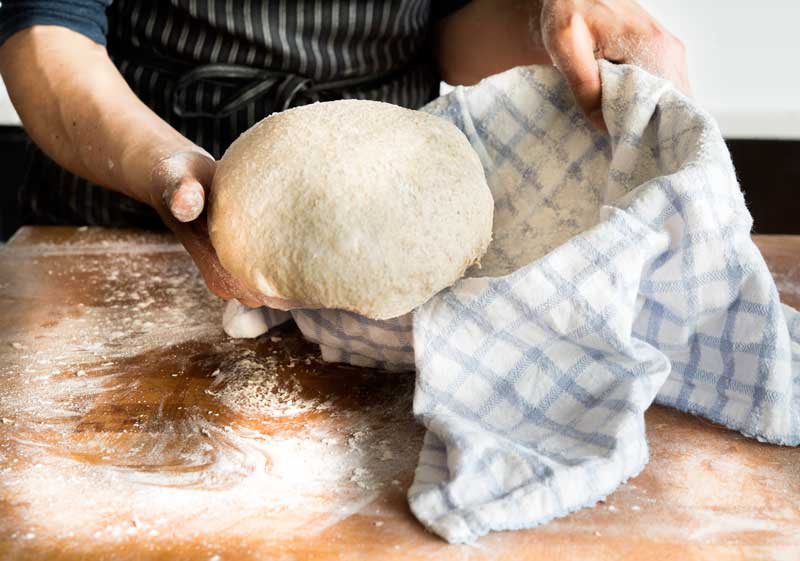
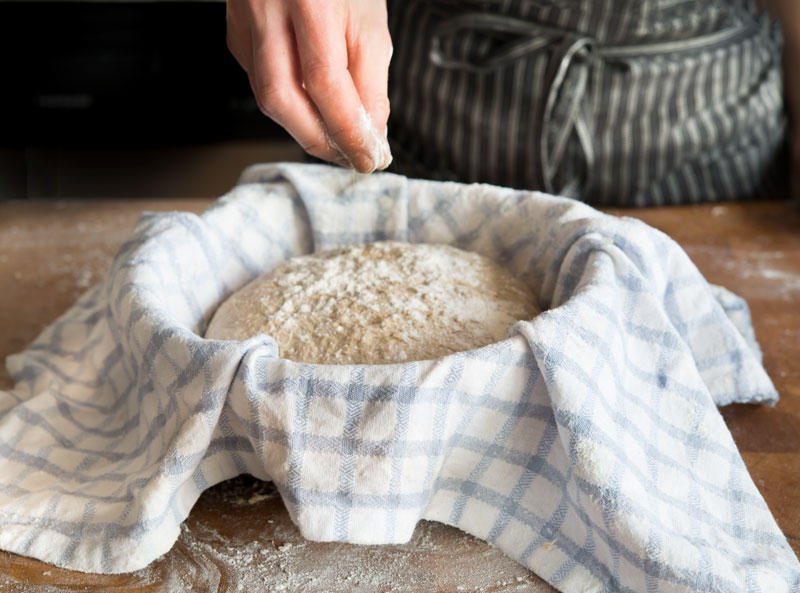
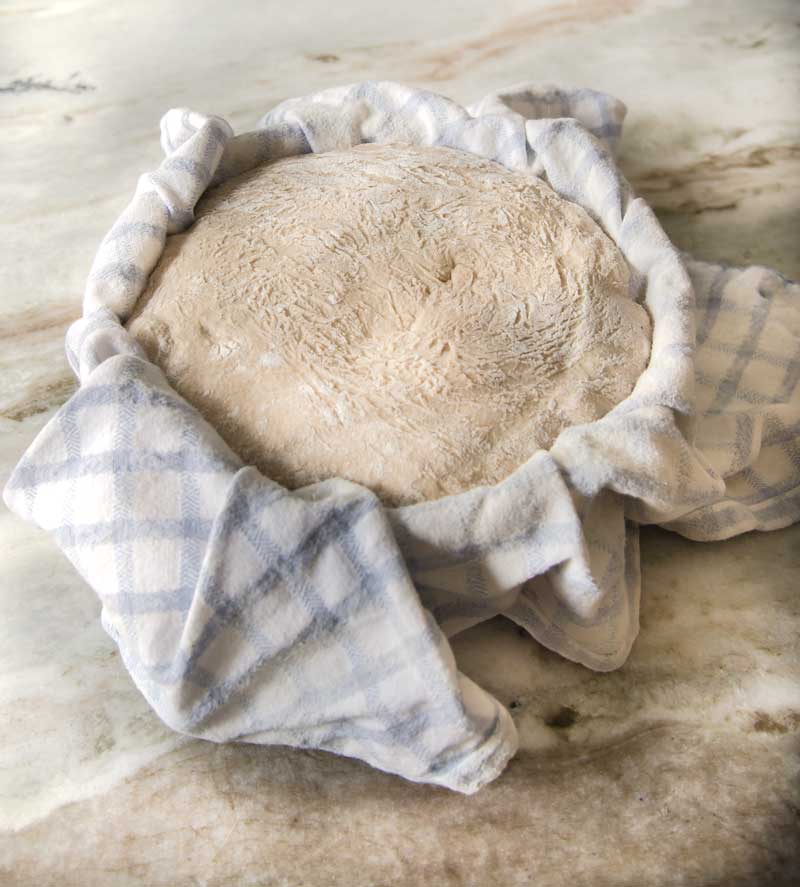
Thereafter, it goes in the refrigerator for 36 to 40 hours. At this point I’m really impatient and want to pop it in the oven, but alas I must wait…fingers crossed that all go wells.
Why should you do a long fermentation?
Fermentation allows the yeast to break down the bran (and neutralize phytic acid) and allows gluten to develop a better structure. This structure traps gases produced during the rise time, giving you an airier loaf.
Finally, baking day…there’s only one thing left to do — bake the bread. I use a cloche, like this, for baking my bread. A cloche helps to create moisture, emulating a steam-injected oven (that professional bakers use), which produces a crispy crust and a moist, chewy interior.
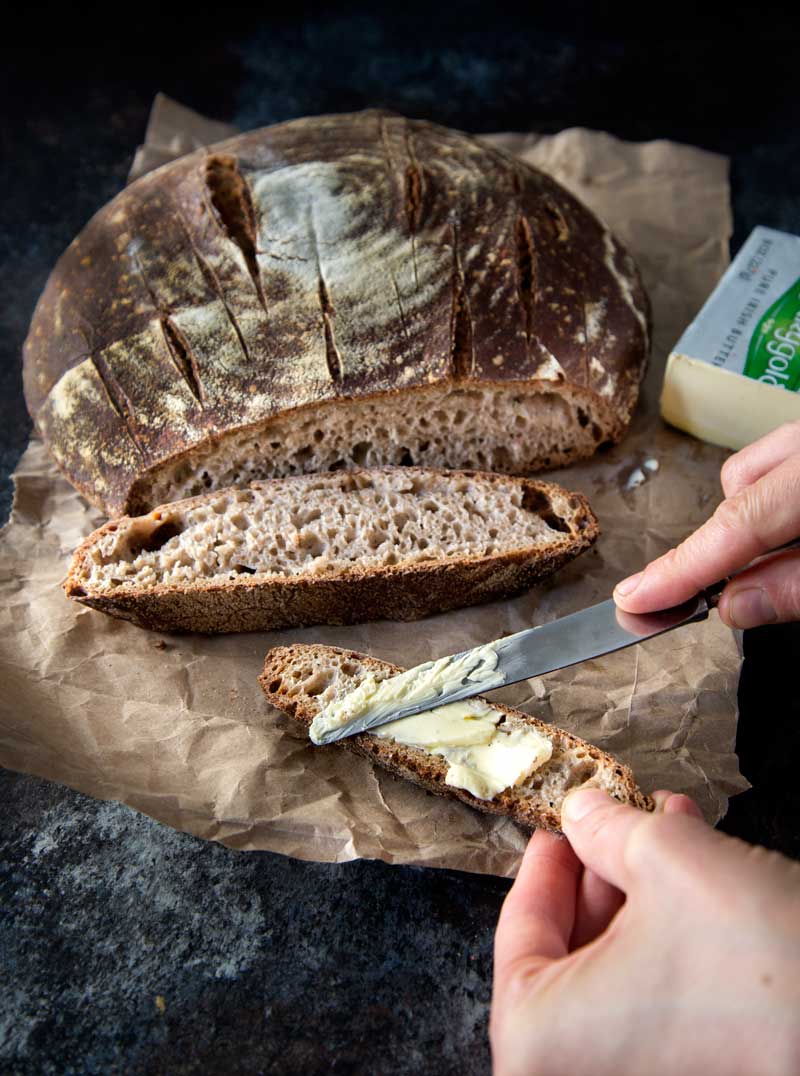
After baking, let your bread rest, slice, slather with a good amount of butter, and enjoy the fruits of your labor!
![]() Bien Cuit’s 60-Hour Sourdough
Bien Cuit’s 60-Hour Sourdough
Buy the book!
This bread is time consuming. I’ve provided a sample timeline below so you can get an idea of how long it takes. If you start Saturday evening, your bread will be ready Tuesday morning. Sounds crazy, I know. Perhaps not something you’ll make all the time, but once in a while it’s totally worth the effort. If not, there’s always the shop in Brooklyn. Grab me a boule while you’re at it.
Starter
50 grams (3 tablespoons + 1 teaspoon) sourdough starter
100 grams (1/4 cup + 3 tablespoons) water at about 60 F
100 grams (1/2 cup + 3 1/2 tablespoons) medium whole wheat flour
9:00 pm (Saturday) Put the starter in a medium bowl and add the water. Break the starter up with your fingers until it’s mostly dissolved in the water. Cover and let sit at room temperature for 10 to 14 hours (the starter will peak at 12 hours).
Dough
275 grams (1 3/4 cup +3 1/2 tablespoons) white flour, plus additional as needed for working the dough
100 grams (1/2 cup + 3 1/2 tablespoons) medium whole wheat flour (used a Red Fife)
50 grams (1/4 cup + 2 1/2 tablespoons) white (light) rye flour
50 grams (1/4 cup + 2 1/2 tablespoons) dark rye flour
25 grams (2 tablespoons + 2 1/4 teaspoons) buckwheat flour
18 grams (1 tablespoon) fine sea salt
375 grams ( 1 1/2 cups + 1 tablespoon) water at about 60 F
9:00 am (Sunday) Stir together the white, whole wheat, light and dark rye, buckwheat flours, and salt in a medium bowl. Pour about 1/3 of the water around the edges of the starter to release it from the sides of the bowl. Transfer the starter to a larger bowl with the rest of the water. With a wooden spoon, break up the starter to distribute it in the water.
Add the flour mixture to the yeast mixture. Continue to mix with a wooden spoon until most of the dry ingredients are combined with the starter. Switch to a plastic dough scraper and continue to mix until well incorporated (dough will be sticky to the touch). Continue rolling and tucking, about 12 times, with the plastic dough scraper until the dough feels stronger and resists further rolling. Place the dough seam side down in a clean bowl, cover with a clean kitchen towel, and let sit at room temperature for 45 minutes.
9:45 am (Sunday) First Stretch: Lightly dust a clean work surface and your hands with flour. Using the plastic dough scraper, remove the dough from the bowl and place it seam-side down on the work surface. Gently stretch it into a rectangular shape. Fold the dough in thirds from top to bottom, then left to right. With cupped hands, tuck the sides under toward the center and place the dough, seam-side down in the bowl. Cover with a towel and let rest at room temperature another 45 minutes.
10:30 am (Sunday) Second Stretch: stretch and fold, repeating the steps from the first fold, then return the dough to the bowl seam-side down, cover, and let rest 45 minutes at room temperature.
11:15 am (Sunday) Third Stretch: stretch and fold, repeat the previous steps, return the dough to the bowl, cover, and let rest 45 minutes and room temperature.
12:00 pm (Sunday) Fourth and Final Stretch: stretch, fold, and repeat, return the dough to the bowl, cover, and let rest 30 minutes and room temperature.
Line a 9-inch proofing basket with a clean kitchen towel. Dust the towel fairly generously with flour.
12:30 pm (Sunday) Lightly dust your work surface and hands with flour. Shape the dough into a round. Dust the sides and top of the dough with flour. Place the dough seam-side up in the prepared proofing basket. Fold the corners of the towel over the dough. Let rest at room temperature for about 5 1/2 hours (it may need less time depending on the temperature and humidity).
6:00 pm (Sunday) Transfer the proofing basket, cover with a tea towel and place in the refrigerator for 36 to 40 hours.
6:00 am (Tuesday) Position the oven rack in the lower third of the oven. Place a cloche (or 6-quart round cast-iron Dutch oven) in the oven. Preheat the oven to 500 F. Heat the oven for 1 hour.
6:40 am (Tuesday) Take the basket of dough out of the refrigerator 20 minutes before you’re ready to bake.
7:00 am (Tuesday) Using oven mitts, remove the cloche (or Dutch oven) from the oven and place on the stove top. Remove the lid. Lift and gently ease the dough out of the basket and onto a baking peel, seam side down. Carefully transfer the dough to the cloche. Score the top of the bread. Cover the cloche, return it to the oven. Lower the temperature to 460 F and bake for 45 minutes.
7:45 am (Tuesday) Rotate the cloche and remove the lid. Lower the temperature to 440 F and continue to cook with the lid off for about 15 minutes longer, until the surface of the bread is very dark brown (bien cuit).
8:00 am (Tuesday) Loosen the edges of the loaf and with a wooden spoon, lift the bread out of the cloche. When the bottom of the bread is tapped it should sound hollow.
Let the bread cool. Slice. Slather with butter. Smile. Enjoy!!




One comment
Sabrina
Absolutely gorgeous bread!